

HOW TO PERSONALISE YOUR OWN CUSTOM CAP
New Era has made headwear for a century. We have many designs, but customising a hat is part of our history. It is about your style and how you wear it.
This guide shows you how to add your own touch to your cap properly without ruining it.

How to Make Your New Era Hat Personalised
1. CHOOSING YOUR BASE: THE FOUNDATION OF YOUR DESIGN
The silhouette you choose changes the complete look of your custom design.
If you want a look that feels heavy and substantial, the 59FIFTY or the 9FIFTY Snapback are the best choices. These models have a reinforced front panel. This means they can handle more customisation, like multiple pins or heavy patches without sagging.
For that more “lived-in” look, start with the 9TWENTY as your base. This hat is unstructured and has a vintage feel. It is a good pick for simple designs that do not need the hat to keep a stiff shape.
2. SELECT YOUR HARDWARE
Think about how long you want the design to last. This choice changes the look and how the hat works with your kit. You have 3 main choices for hardware:


Pin Badges
Pins are the easiest way to change your look. They are flexible and let you change your style whenever you want. You can use one metallic pin for a clean look or stack several for a bold streetwear style. Badges are more popular for people who like to rotate their look and refresh their custom caps again and again, without committing to a more permanent look.
Patches
Patches are your permanent choice. They provide a statement look that feels like it was supposed to be part of the hat. If you want a finished and clean look, a patch is the right pick for you.
A Combination
Most people choose to make use of both pins and patches for their projects. This means that you can use the patch as the main focal point of the design, then use pins as accents for specific looks.
A good tip is to place a single pin near the corner of a patch. This adds a metal element to the embroidery and makes the design pop.
-
{ "item_id": "p_15759736734078", "sku": "199842358216", "item_name": "New Era 59FIFTY Day Diamond Catch Closure Black Pin Badge", "price": 11.00, "quantity": 1, "affiliation": "Online Store", "item_category": "", "item_category2": "Pin Badges", "item_category_2": "Pin Badges", "categories": "59FIFTY Day, 59FIFTY FULL PRICE, ACCESSORIES, BLACK EDITION, Full Price, NEW ERA, NEW ERA ACCESSORIES, Order test, PIN BADGES, Publish date test", "gender": "Male", "age_range": null, "item_brand": "New Era Branded", "team": null, "visor": null, "fit": null, "color": "Black", "silhouette": null, "sport": null, "mid": 60950861, "image_url": "www.neweracap.co.uk/cdn/shop/files/60950861_1.jpg?v=1788176398&width=1000", "language": "en", "market": "GB", "index": null, "locale": "en-GB" } 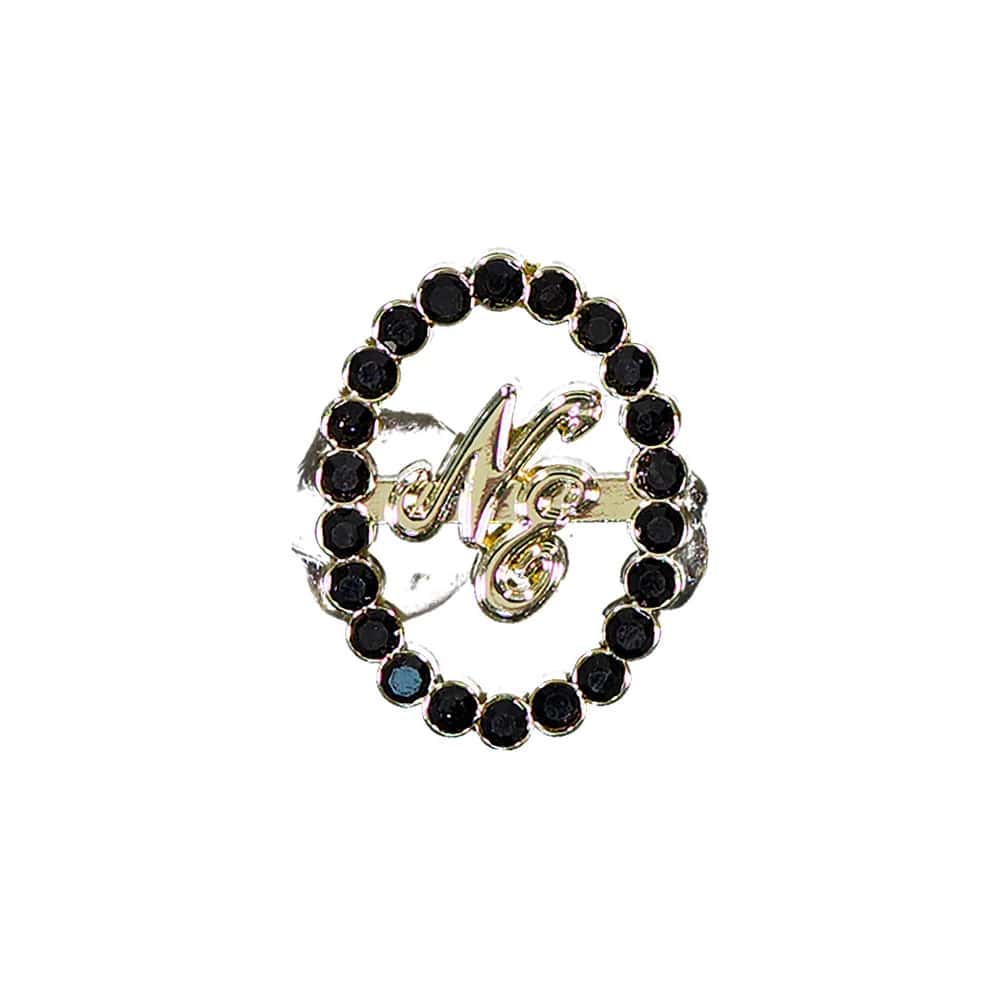
Pin Badges
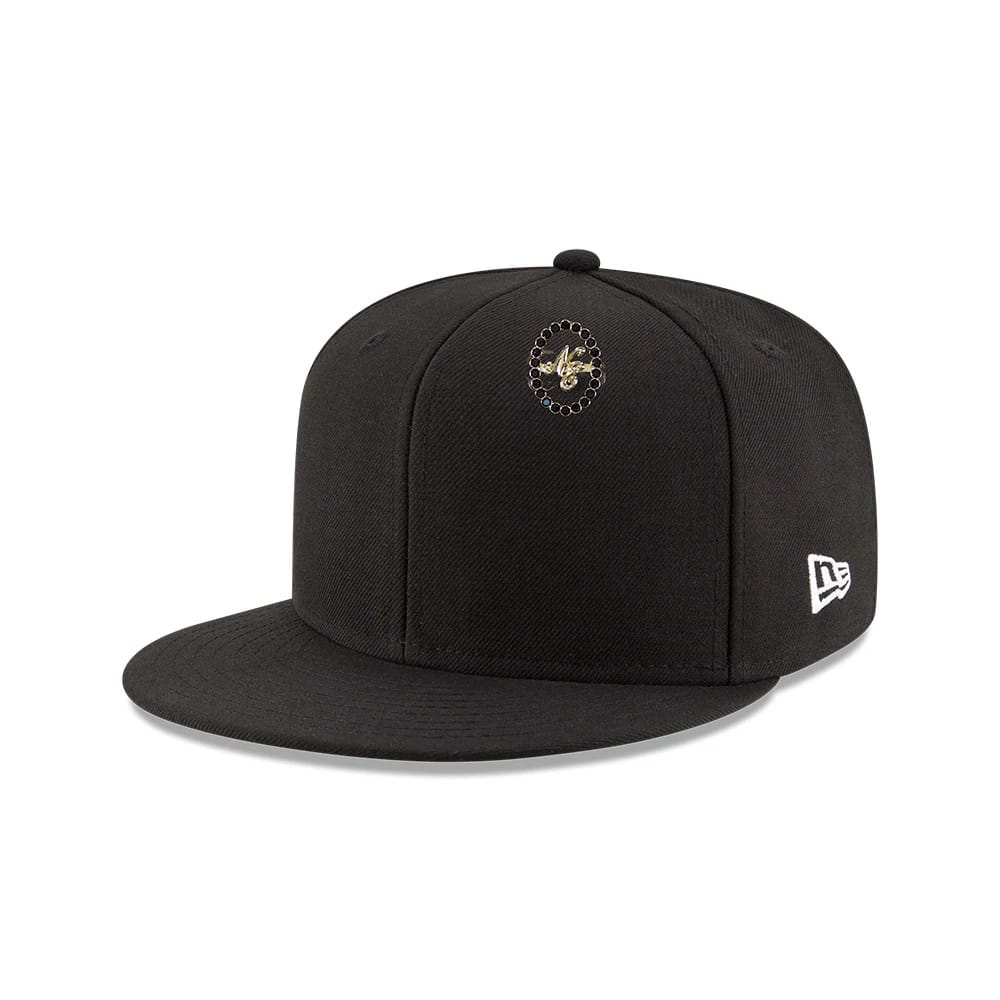
New Era 59FIFTY Day Diamond Catch Closure Black Pin Badge
Regular price £11.00Sale price £11.00 Regular priceUnit price per£11.00{ "item_id": "p_15759736734078", "sku": "199842358216", "item_name": "New Era 59FIFTY Day Diamond Catch Closure Black Pin Badge", "price": 11.00, "quantity": 1, "affiliation": "Online Store", "item_category": "", "item_category2": "Pin Badges", "item_category_2": "Pin Badges", "categories": "59FIFTY Day, 59FIFTY FULL PRICE, ACCESSORIES, BLACK EDITION, Full Price, NEW ERA, NEW ERA ACCESSORIES, Order test, PIN BADGES, Publish date test", "gender": "Male", "age_range": null, "item_brand": "New Era Branded", "team": null, "visor": null, "fit": null, "color": "Black", "silhouette": null, "sport": null, "mid": 60950861, "image_url": "www.neweracap.co.uk/cdn/shop/files/60950861_1.jpg?v=1788176398&width=1000", "language": "en", "market": "GB", "index": null, "locale": "en-GB" } -
{ "item_id": "p_15759736766846", "sku": "199842358179", "item_name": "New Era 59FIFTY Day Needle Point Black Pin Badge", "price": 11.00, "quantity": 1, "affiliation": "Online Store", "item_category": "", "item_category2": "Pin Badges", "item_category_2": "Pin Badges", "categories": "59FIFTY Day, 59FIFTY FULL PRICE, ACCESSORIES, BLACK EDITION, Full Price, NEW ERA, NEW ERA ACCESSORIES, Order test, PIN BADGES, Publish date test", "gender": "Male", "age_range": null, "item_brand": "New Era Branded", "team": null, "visor": null, "fit": null, "color": "Black", "silhouette": null, "sport": null, "mid": 60950862, "image_url": "www.neweracap.co.uk/cdn/shop/files/60950862_1.jpg?v=1790089848&width=1000", "language": "en", "market": "GB", "index": null, "locale": "en-GB" } 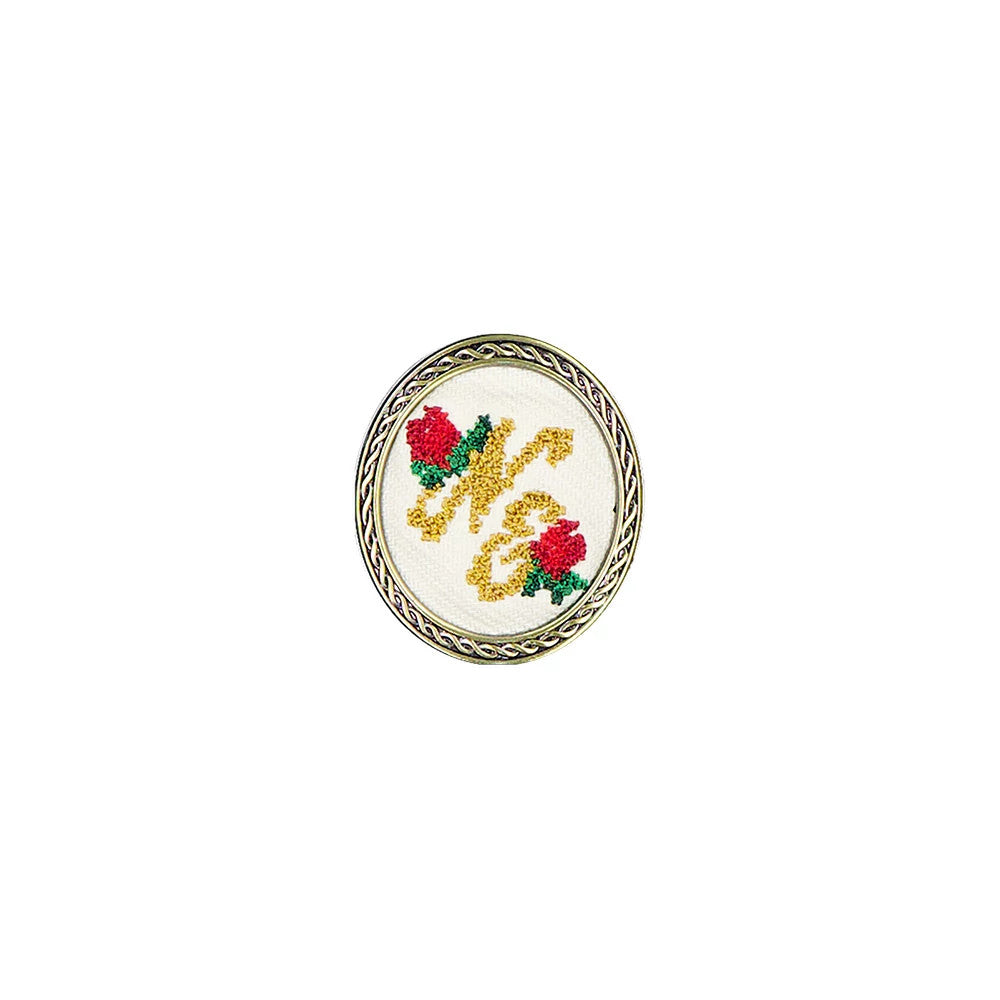

Pin Badges
New Era 59FIFTY Day Needle Point Black Pin Badge
Regular price £11.00Sale price £11.00 Regular priceUnit price per£11.00{ "item_id": "p_15759736766846", "sku": "199842358179", "item_name": "New Era 59FIFTY Day Needle Point Black Pin Badge", "price": 11.00, "quantity": 1, "affiliation": "Online Store", "item_category": "", "item_category2": "Pin Badges", "item_category_2": "Pin Badges", "categories": "59FIFTY Day, 59FIFTY FULL PRICE, ACCESSORIES, BLACK EDITION, Full Price, NEW ERA, NEW ERA ACCESSORIES, Order test, PIN BADGES, Publish date test", "gender": "Male", "age_range": null, "item_brand": "New Era Branded", "team": null, "visor": null, "fit": null, "color": "Black", "silhouette": null, "sport": null, "mid": 60950862, "image_url": "www.neweracap.co.uk/cdn/shop/files/60950862_1.jpg?v=1790089848&width=1000", "language": "en", "market": "GB", "index": null, "locale": "en-GB" } -
{ "item_id": "p_15698382455166", "sku": "199420390850", "item_name": "New Era Flag Rose Gold Pin Badge", "price": 8.00, "quantity": 1, "affiliation": "Online Store", "item_category": "", "item_category2": "Pin Badges", "item_category_2": "Pin Badges", "categories": "ACCESSORIES, Full Price, NEW ERA, NEW ERA - NEW SEASON EDIT, NEW ERA ACCESSORIES, Order test, PIN BADGES, PINK OUTFITS, Publish date test, SUMMER CAPS \u0026 CLOTHING", "gender": "Male", "age_range": null, "item_brand": "New Era Branded", "team": null, "visor": null, "fit": null, "color": "Pink", "silhouette": null, "sport": null, "mid": 60856097, "image_url": "www.neweracap.co.uk/cdn/shop/files/60856097.jpg?v=1788198293&width=1000", "language": "en", "market": "GB", "index": null, "locale": "en-GB" } 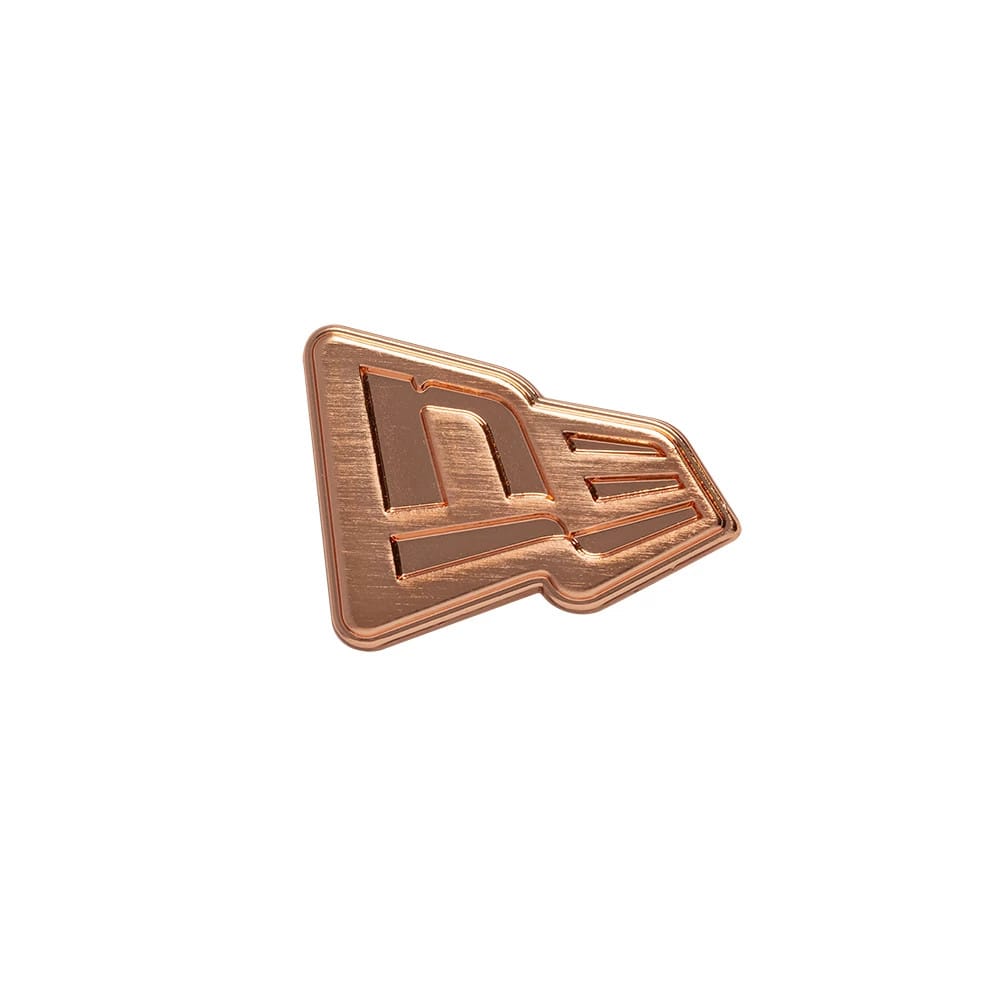
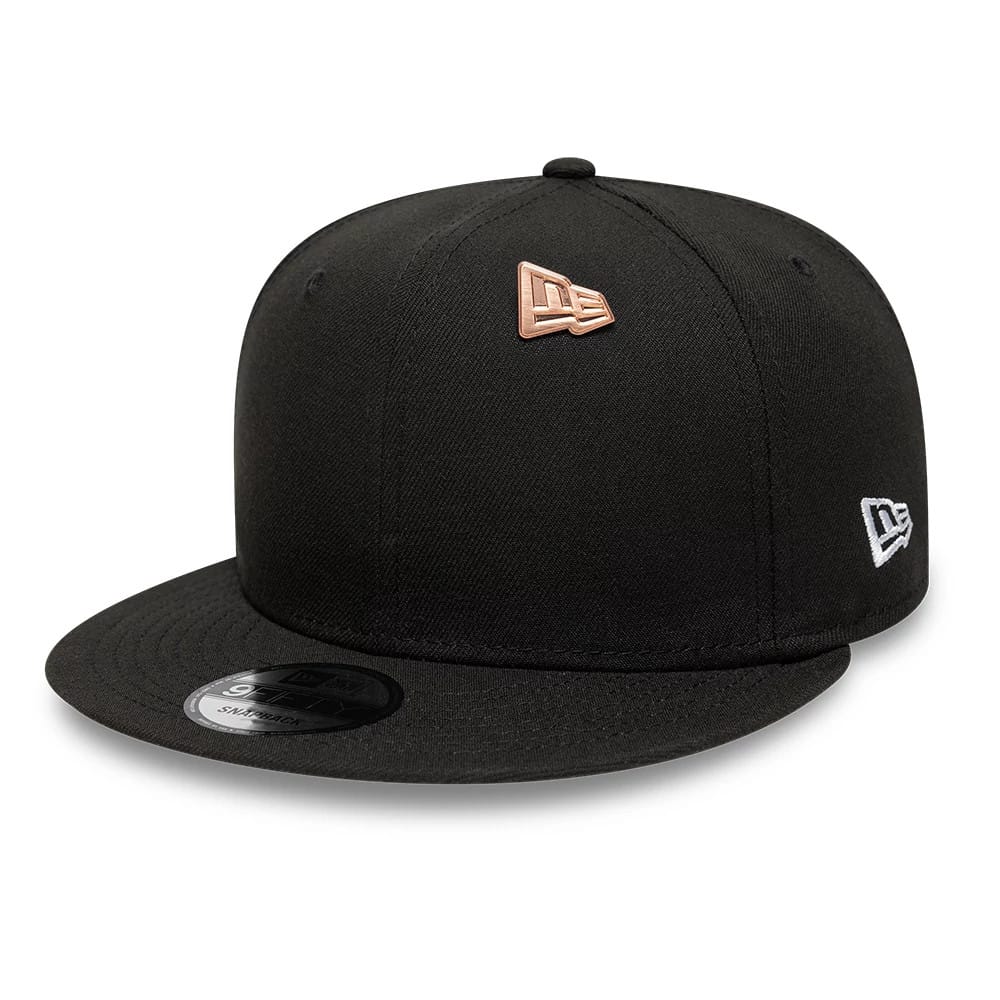
Pin Badges
New Era Flag Rose Gold Pin Badge
Regular price £8.00Sale price £8.00 Regular priceUnit price per£8.00{ "item_id": "p_15698382455166", "sku": "199420390850", "item_name": "New Era Flag Rose Gold Pin Badge", "price": 8.00, "quantity": 1, "affiliation": "Online Store", "item_category": "", "item_category2": "Pin Badges", "item_category_2": "Pin Badges", "categories": "ACCESSORIES, Full Price, NEW ERA, NEW ERA - NEW SEASON EDIT, NEW ERA ACCESSORIES, Order test, PIN BADGES, PINK OUTFITS, Publish date test, SUMMER CAPS \u0026 CLOTHING", "gender": "Male", "age_range": null, "item_brand": "New Era Branded", "team": null, "visor": null, "fit": null, "color": "Pink", "silhouette": null, "sport": null, "mid": 60856097, "image_url": "www.neweracap.co.uk/cdn/shop/files/60856097.jpg?v=1788198293&width=1000", "language": "en", "market": "GB", "index": null, "locale": "en-GB" } -
{ "item_id": "p_15698417844606", "sku": "199420390874", "item_name": "New Era Flag Character Silver Pin Badge", "price": 8.00, "quantity": 1, "affiliation": "Online Store", "item_category": "", "item_category2": "Pin Badges", "item_category_2": "Pin Badges", "categories": "ACCESSORIES, Full Price, NEW ERA, NEW ERA - NEW SEASON EDIT, NEW ERA ACCESSORIES, Order test, PIN BADGES, Publish date test, SUMMER CAPS \u0026 CLOTHING", "gender": "Male", "age_range": null, "item_brand": "New Era Branded", "team": null, "visor": null, "fit": null, "color": "Grey", "silhouette": null, "sport": null, "mid": 60856129, "image_url": "www.neweracap.co.uk/cdn/shop/files/60856129_bf3d3386-7f65-4939-ac69-c386201a2e4d.jpg?v=1790082797&width=1000", "language": "en", "market": "GB", "index": null, "locale": "en-GB" } 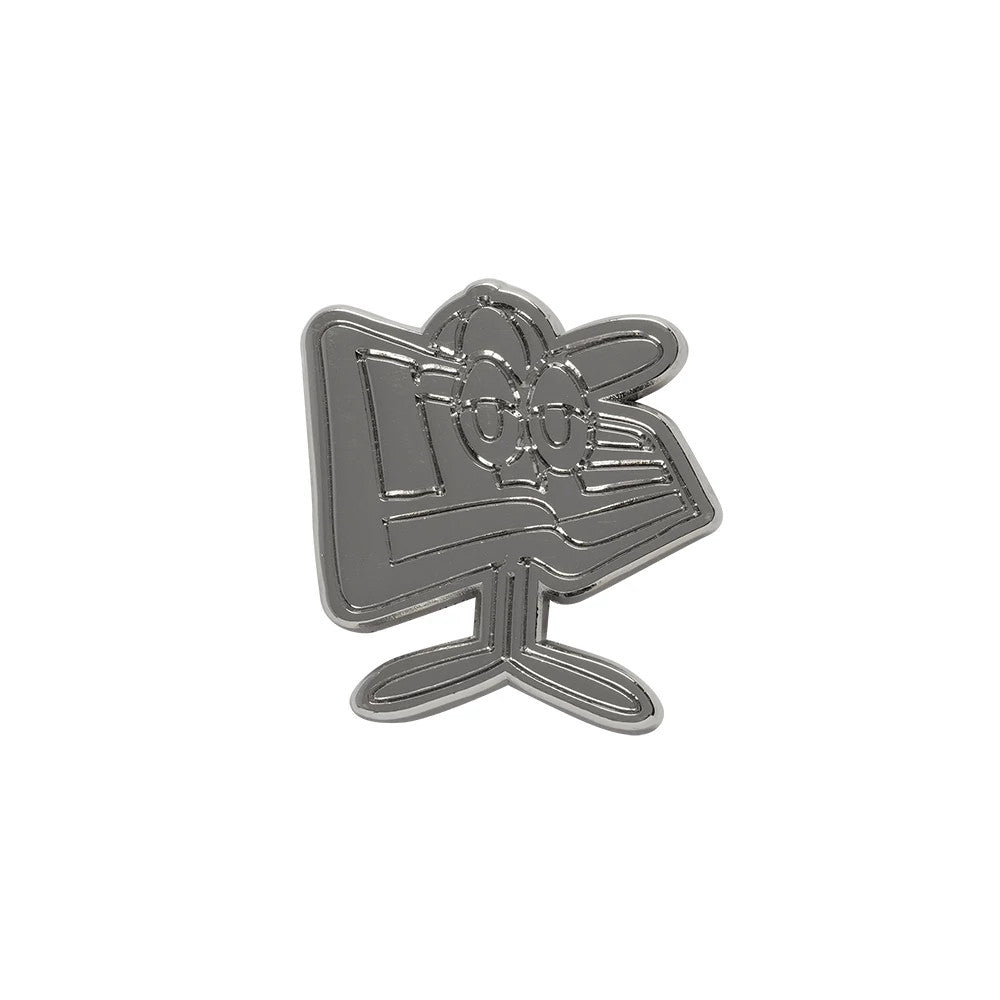

Pin Badges
New Era Flag Character Silver Pin Badge
Regular price £8.00Sale price £8.00 Regular priceUnit price per£8.00{ "item_id": "p_15698417844606", "sku": "199420390874", "item_name": "New Era Flag Character Silver Pin Badge", "price": 8.00, "quantity": 1, "affiliation": "Online Store", "item_category": "", "item_category2": "Pin Badges", "item_category_2": "Pin Badges", "categories": "ACCESSORIES, Full Price, NEW ERA, NEW ERA - NEW SEASON EDIT, NEW ERA ACCESSORIES, Order test, PIN BADGES, Publish date test, SUMMER CAPS \u0026 CLOTHING", "gender": "Male", "age_range": null, "item_brand": "New Era Branded", "team": null, "visor": null, "fit": null, "color": "Grey", "silhouette": null, "sport": null, "mid": 60856129, "image_url": "www.neweracap.co.uk/cdn/shop/files/60856129_bf3d3386-7f65-4939-ac69-c386201a2e4d.jpg?v=1790082797&width=1000", "language": "en", "market": "GB", "index": null, "locale": "en-GB" } -
{ "item_id": "p_15634711216510", "sku": "199637917796", "item_name": "New Era Faux Pearl Bow White Pin Badge", "price": 12.00, "quantity": 1, "affiliation": "Online Store", "item_category": "", "item_category2": "Pin Badges", "item_category_2": "Pin Badges", "categories": "ACCESSORIES, Full Price, GIFTS FOR MEN, NEW ERA, NEW ERA ACCESSORIES, Order test, PIN BADGES, Publish date test", "gender": "Male", "age_range": null, "item_brand": "New Era Branded", "team": null, "visor": null, "fit": null, "color": "White", "silhouette": null, "sport": null, "mid": 60916317, "image_url": "www.neweracap.co.uk/cdn/shop/files/60916317_3QL.jpg?v=1790088530&width=1000", "language": "en", "market": "GB", "index": null, "locale": "en-GB" } 
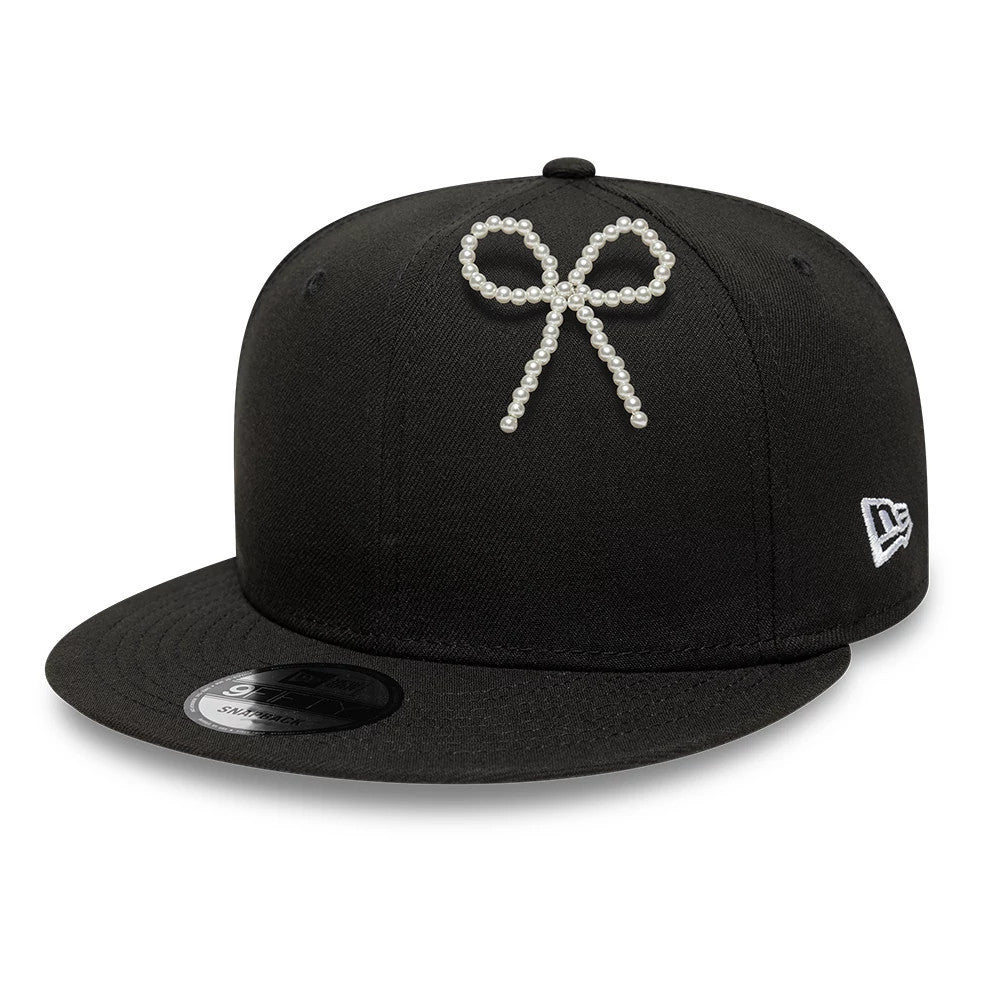
Pin Badges
New Era Faux Pearl Bow White Pin Badge
Regular price £12.00Sale price £12.00 Regular priceUnit price per£12.00{ "item_id": "p_15634711216510", "sku": "199637917796", "item_name": "New Era Faux Pearl Bow White Pin Badge", "price": 12.00, "quantity": 1, "affiliation": "Online Store", "item_category": "", "item_category2": "Pin Badges", "item_category_2": "Pin Badges", "categories": "ACCESSORIES, Full Price, GIFTS FOR MEN, NEW ERA, NEW ERA ACCESSORIES, Order test, PIN BADGES, Publish date test", "gender": "Male", "age_range": null, "item_brand": "New Era Branded", "team": null, "visor": null, "fit": null, "color": "White", "silhouette": null, "sport": null, "mid": 60916317, "image_url": "www.neweracap.co.uk/cdn/shop/files/60916317_3QL.jpg?v=1790088530&width=1000", "language": "en", "market": "GB", "index": null, "locale": "en-GB" } -
{ "item_id": "p_15634697650558", "sku": "199636067652", "item_name": "New Era Heart Script Red Pin Badge", "price": 8.00, "quantity": 1, "affiliation": "Online Store", "item_category": "", "item_category2": "Pin Badges", "item_category_2": "Pin Badges", "categories": "ACCESSORIES, Full Price, GIFTS FOR MEN, NEW ERA, NEW ERA ACCESSORIES, Order test, PIN BADGES, Publish date test, VALENTINE'S DAY CAPS \u0026 CLOTHING", "gender": "Male", "age_range": null, "item_brand": "New Era Branded", "team": null, "visor": null, "fit": null, "color": "Red", "silhouette": null, "sport": null, "mid": 60871166, "image_url": "www.neweracap.co.uk/cdn/shop/files/60871166_3QL_df1b1207-71a9-445d-8bc4-735df982e311.jpg?v=1788201666&width=1000", "language": "en", "market": "GB", "index": null, "locale": "en-GB" } 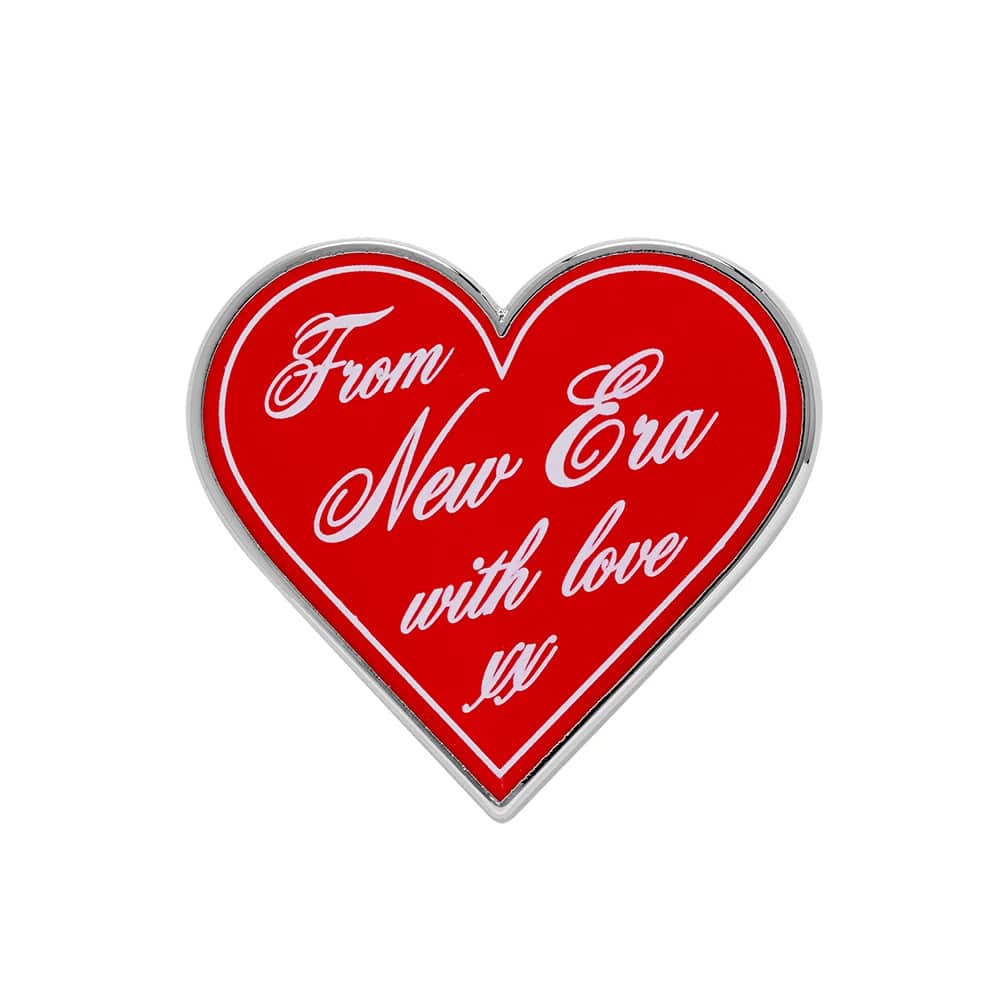
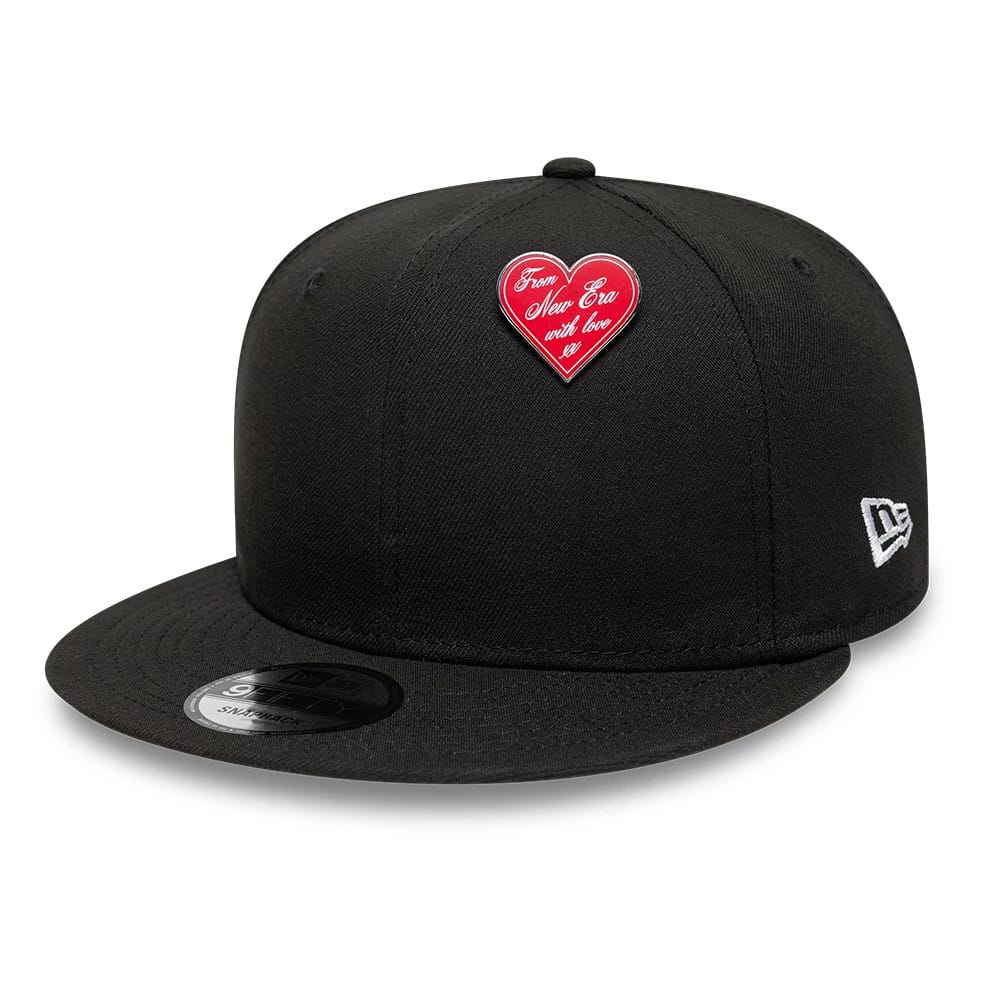
Pin Badges
New Era Heart Script Red Pin Badge
Regular price £8.00Sale price £8.00 Regular priceUnit price per£8.00{ "item_id": "p_15634697650558", "sku": "199636067652", "item_name": "New Era Heart Script Red Pin Badge", "price": 8.00, "quantity": 1, "affiliation": "Online Store", "item_category": "", "item_category2": "Pin Badges", "item_category_2": "Pin Badges", "categories": "ACCESSORIES, Full Price, GIFTS FOR MEN, NEW ERA, NEW ERA ACCESSORIES, Order test, PIN BADGES, Publish date test, VALENTINE'S DAY CAPS \u0026 CLOTHING", "gender": "Male", "age_range": null, "item_brand": "New Era Branded", "team": null, "visor": null, "fit": null, "color": "Red", "silhouette": null, "sport": null, "mid": 60871166, "image_url": "www.neweracap.co.uk/cdn/shop/files/60871166_3QL_df1b1207-71a9-445d-8bc4-735df982e311.jpg?v=1788201666&width=1000", "language": "en", "market": "GB", "index": null, "locale": "en-GB" } -
{ "item_id": "p_15634694635902", "sku": "199636067621", "item_name": "New Era Heart Silver Pin Badge", "price": 8.00, "quantity": 1, "affiliation": "Online Store", "item_category": "", "item_category2": "Pin Badges", "item_category_2": "Pin Badges", "categories": "ACCESSORIES, Full Price, GIFTS FOR MEN, NEW ERA, NEW ERA ACCESSORIES, Order test, PIN BADGES, Publish date test, VALENTINE'S DAY CAPS \u0026 CLOTHING", "gender": "Male", "age_range": null, "item_brand": "New Era Branded", "team": null, "visor": null, "fit": null, "color": "Grey", "silhouette": null, "sport": null, "mid": 60871165, "image_url": "www.neweracap.co.uk/cdn/shop/files/60871165_3QL_95eb6de9-3938-473b-90eb-b38cc8b55665.jpg?v=1788201934&width=1000", "language": "en", "market": "GB", "index": null, "locale": "en-GB" } 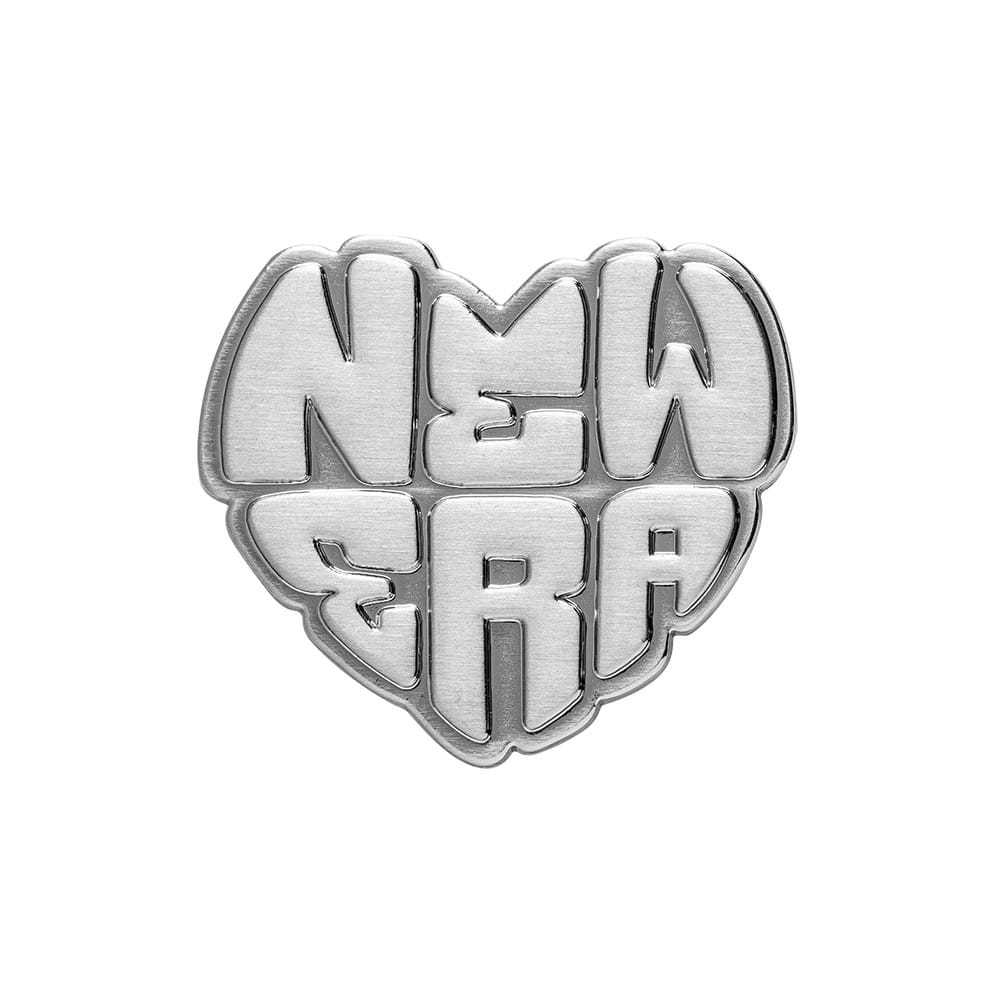
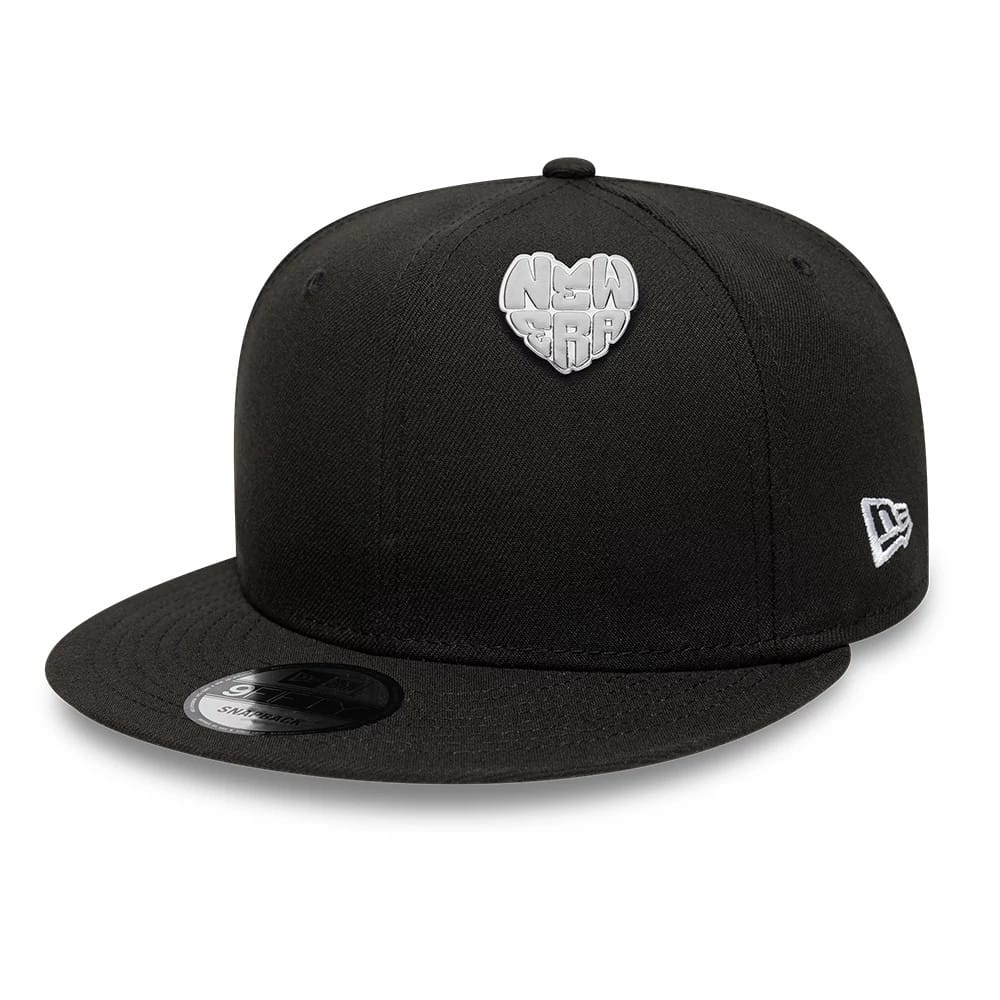
Pin Badges
New Era Heart Silver Pin Badge
Regular price £8.00Sale price £8.00 Regular priceUnit price per£8.00{ "item_id": "p_15634694635902", "sku": "199636067621", "item_name": "New Era Heart Silver Pin Badge", "price": 8.00, "quantity": 1, "affiliation": "Online Store", "item_category": "", "item_category2": "Pin Badges", "item_category_2": "Pin Badges", "categories": "ACCESSORIES, Full Price, GIFTS FOR MEN, NEW ERA, NEW ERA ACCESSORIES, Order test, PIN BADGES, Publish date test, VALENTINE'S DAY CAPS \u0026 CLOTHING", "gender": "Male", "age_range": null, "item_brand": "New Era Branded", "team": null, "visor": null, "fit": null, "color": "Grey", "silhouette": null, "sport": null, "mid": 60871165, "image_url": "www.neweracap.co.uk/cdn/shop/files/60871165_3QL_95eb6de9-3938-473b-90eb-b38cc8b55665.jpg?v=1788201934&width=1000", "language": "en", "market": "GB", "index": null, "locale": "en-GB" } -
{ "item_id": "p_15634639847806", "sku": "199420390782", "item_name": "New Era Lunar New Year Fan Red Pin Badge", "price": 8.00, "quantity": 1, "affiliation": "Online Store", "item_category": "", "item_category2": "Pin Badges", "item_category_2": "Pin Badges", "categories": "ACCESSORIES, Full Price, GIFTS FOR MEN, LUNAR NEW YEAR GIFTS AND CLOTHING, NEW ERA, NEW ERA ACCESSORIES, Order test, PIN BADGES, Publish date test", "gender": "Male", "age_range": null, "item_brand": "New Era Branded", "team": null, "visor": null, "fit": null, "color": "Red", "silhouette": null, "sport": null, "mid": 60855630, "image_url": "www.neweracap.co.uk/cdn/shop/files/60855630_3QL.jpg?v=1788213623&width=1000", "language": "en", "market": "GB", "index": null, "locale": "en-GB" } 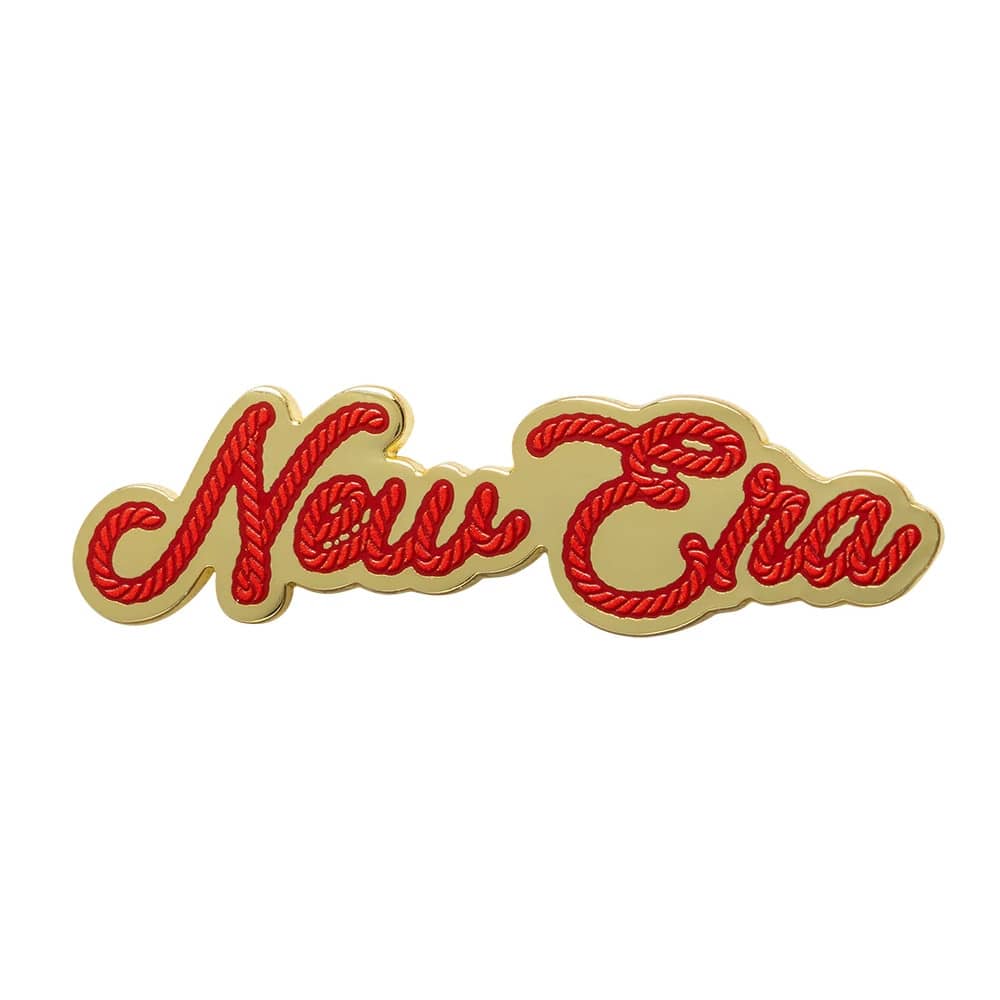
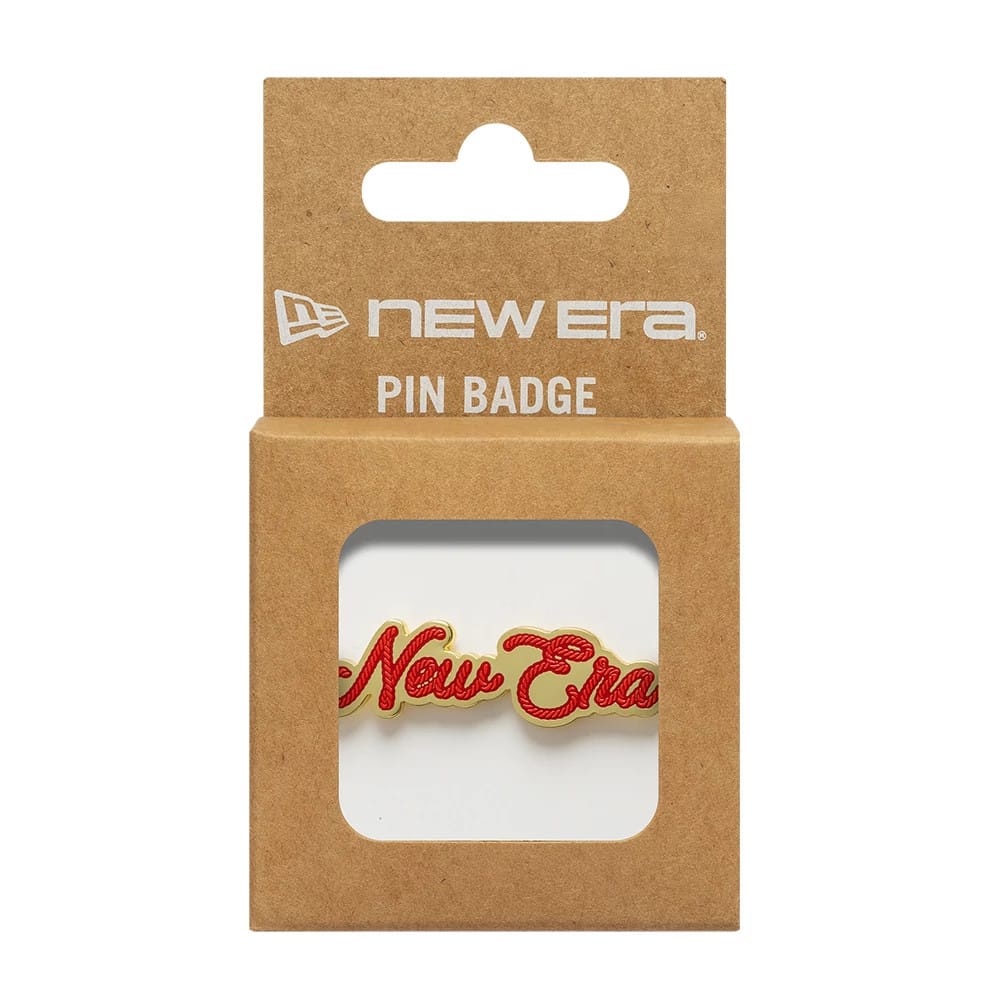
Pin Badges
New Era Lunar New Year Fan Red Pin Badge
Regular price £8.00Sale price £8.00 Regular priceUnit price per£8.00{ "item_id": "p_15634639847806", "sku": "199420390782", "item_name": "New Era Lunar New Year Fan Red Pin Badge", "price": 8.00, "quantity": 1, "affiliation": "Online Store", "item_category": "", "item_category2": "Pin Badges", "item_category_2": "Pin Badges", "categories": "ACCESSORIES, Full Price, GIFTS FOR MEN, LUNAR NEW YEAR GIFTS AND CLOTHING, NEW ERA, NEW ERA ACCESSORIES, Order test, PIN BADGES, Publish date test", "gender": "Male", "age_range": null, "item_brand": "New Era Branded", "team": null, "visor": null, "fit": null, "color": "Red", "silhouette": null, "sport": null, "mid": 60855630, "image_url": "www.neweracap.co.uk/cdn/shop/files/60855630_3QL.jpg?v=1788213623&width=1000", "language": "en", "market": "GB", "index": null, "locale": "en-GB" }


3. CHOOSE YOUR PLACEMENT
The difference between a custom cap that looks polished and one that looks cluttered and messy is the placement.


To make sure that your custom project keeps that refined look, we would suggest following two simple placement rules.
- The side panel: The best spot for a pin or patch is the lower half of the side panels. Put your design just above the New Era flag on the left or in the same spot on the right. This means your personal touches don’t fight with the existing logo on the piece.
- Balance: If you are using pins in your design, do not put too many in a single area. A single pin on the side or the rear of the hat follows the curve of the visor. This creates a more polished profile.
4. APPLY YOUR CUSTOM DETAILS SAFELY
Take care when adding your custom elements to your hat. If you fail to keep the fabric and the fit of the original silhouette in good condition, then you risk ruining your custom project altogether.
ADDING PINS TO A CAP (WITHOUT DAMAGING IT)
Pins, when added correctly, should not cause any damage. You can swap your style as quickly as you change your kit. We recommend following these rules when adding pins to your cap:
- Target the side: Aim for the side panels to keep the look clean.
- Avoid the logo: Stay away from the main logo so the design does not look cluttered.
- Use the eyelets: Push the pin through the existing ventilation holes. This avoids piercing the fabric directly.
- Check the back: Make sure the pin backing is tight so it doesn’t rotate or fall off.
ADDING PATCHES TO YOUR CAP
When adding a patch, side placement is the most popular choice. This look is iconic, and tied with the legacy of the MLB.
To attach a custom patch to your cap, we’d recommend skipping the iron. Using high heat can potentially damage the shape of the crown and ruin your project.
Our suggestion would be to use the “tack stitch" method. Simply adding a few small hand-sewn stitches around the edge. It keeps the patch secure and protects the cap.
We do not recommend attempting more complex hand-embroidery at home. It’s hard to get the professional look and finish on your project that can be achieved in professional factories.
DIY embroidery often lacks the right tension and can warp the shape of the crown.
CUSTOMING THE SHAPE OF YOUR CAPS BRIM


Shaping the brim is a common way to personalise a cap. It changes the overall shapes and most importantly how it frames your face.
There are two standard brim shape options available for our silhouettes:
- Flat Visors: The classic 59FIFTY fitted cap has a flat brim. This offers a sharp, structured look. It is a hallmark of authentic on-field style.
- Curved Visors: The 9FORTY and 9TWENTY come with a curved brim.
HOW TO CURVE A CAP PROPERLY?
If you’re looking to change a flat visor silhouette to a curve, or create a more broken in feel for your cap, then it’s important to do it in the right way.
To get a good curve without damaging the hat, use a steamer to soften the visor. Once it is soft, mould the visor, we’d recommend using a shaping tool to ensure consistent results, but some people choose to use household items like bottles.
Also, try not to make any sharp bends. This can crack the internal stiffener and ruin the shape of the hat.
THE STICKER: DO YOU KEEP IT OR REMOVE IT?


People in streetwear often argue about the gold sticker. This sticker is a mark that the cap is official. It shows the quality of the cap and the past of the brand. Many collectors leave the sticker on because it shows the hat is fresh. Other people take it off to keep the look clean.
This is a personal choice. Once you remove the sticker, you cannot put it back on. Always start with an official New Era cap. If you remove the sticker, the "deadstock" look is gone.
Whether you rock the gold or go clean, ensure you are starting with an Official Authentic Cap.
WRAPPING UP
Ultimately, personalising your New Era cap is more than just a DIY project — it’s about self-expression. By choosing the right silhouette and hardware, and using the right application methods, you ensure your project remains a staple of your wardrobe for years to come.
Main Takeaways:
- Match your hat to your design: Use structured hats like the 59FIFTY for heavy pins and unstructured hats like the 9TWENTY for simple looks.
- Protect the fabric: Place pins through eyelets and sew patches on with a few stitches instead of using a hot iron.
- Shape it slowly: Use steam to curve your brim to avoid cracking the internal support.
Our caps are a canvas for your personal style and looks. Now that you have the right techniques, you're ready to create a custom look that looks great and lasts.
FAQs
Can I wash my customised cap?
No. Use a damp cloth to clean spots. A washing machine ruins the hat and damages your pins or patches. For more tips, visit our Cap Care section.
Where should I put my pins?
The best spot is the left or right side panel. Do not put pins on the front so the team logo stays clear.
Do I need a curving tool?
You can use a bottle to curve the brim, but a tool makes the shape even every time.
Can I use iron-on patches?
We do not recommend heat. High heat can mark the fabric. Use a few stitches to keep the patch on the hat.